Category Archives: Beauty

Beauty 2.

Hey guys, at the moment I am working on a gigantic fashion post which is proving quite finicky to upload. It should be up by sometime next week. For now, though, here are some of my favorite nail polishes.

Most of the polishes are from seasonal collections and can now only be purchased through Amazon, so I will include links to similar colors if possible.

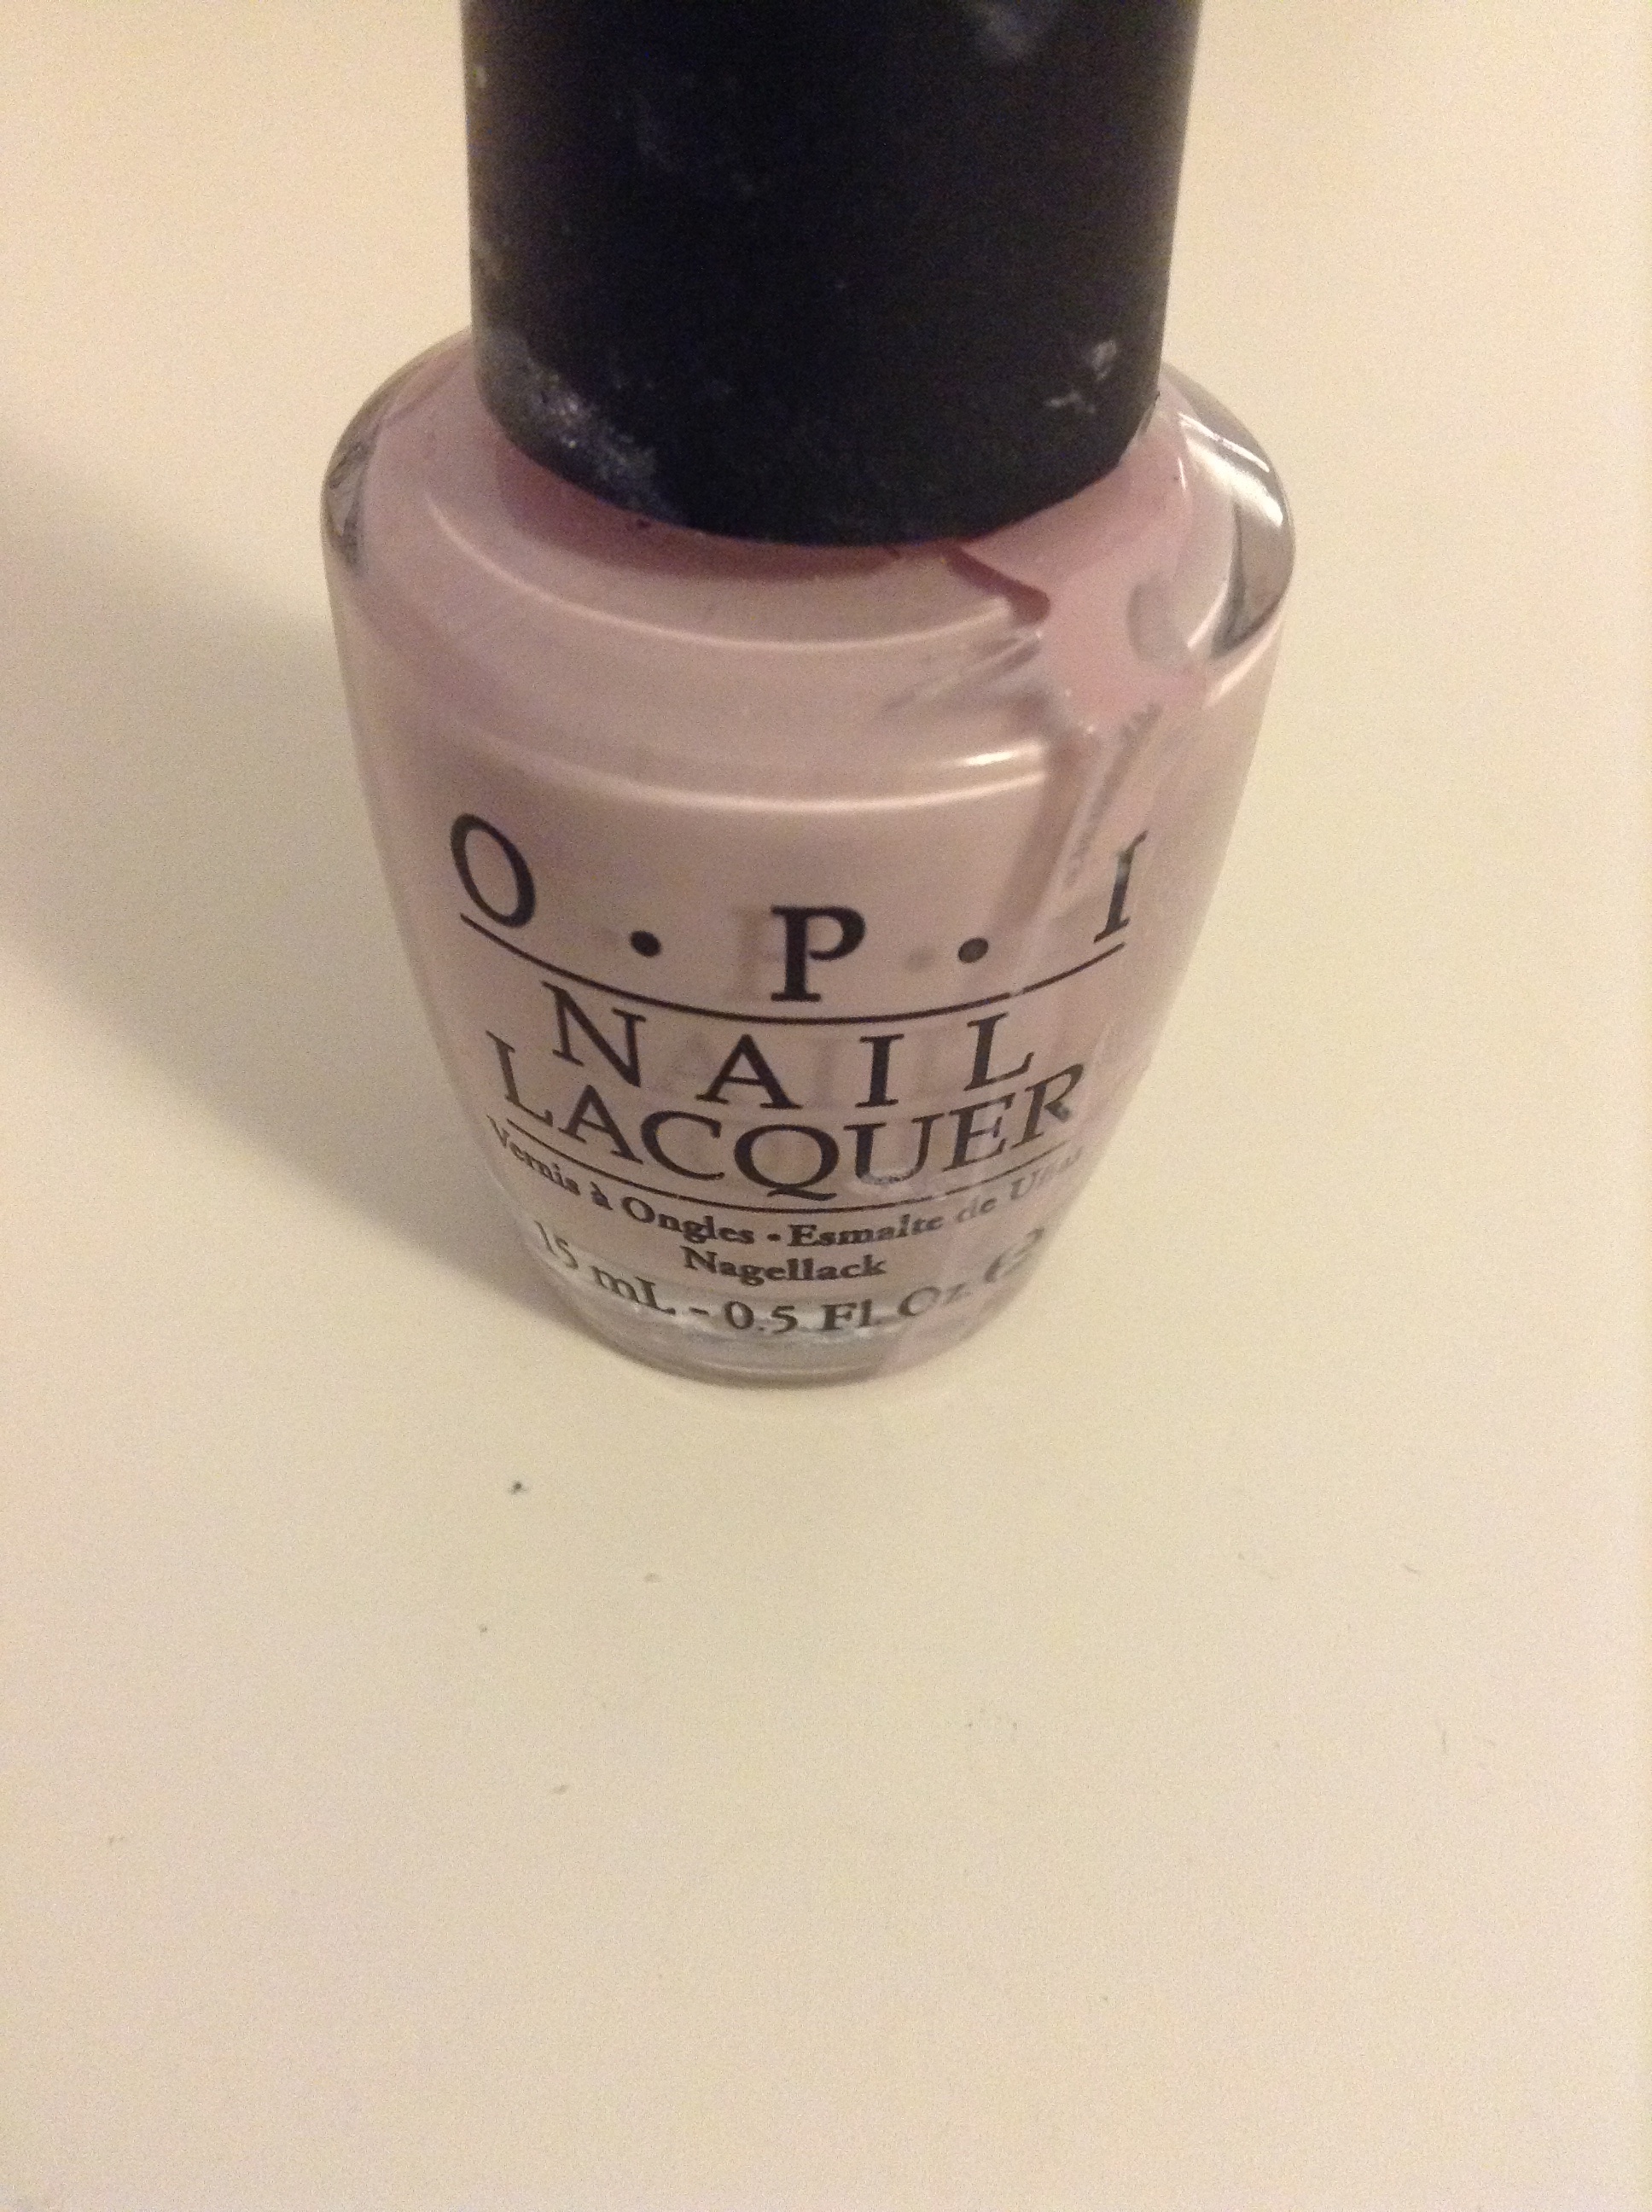
First up is OPI Pirates of the Caribbean Collection Steady as She Rose. It looks like this in my noticeably messy bottle:

image

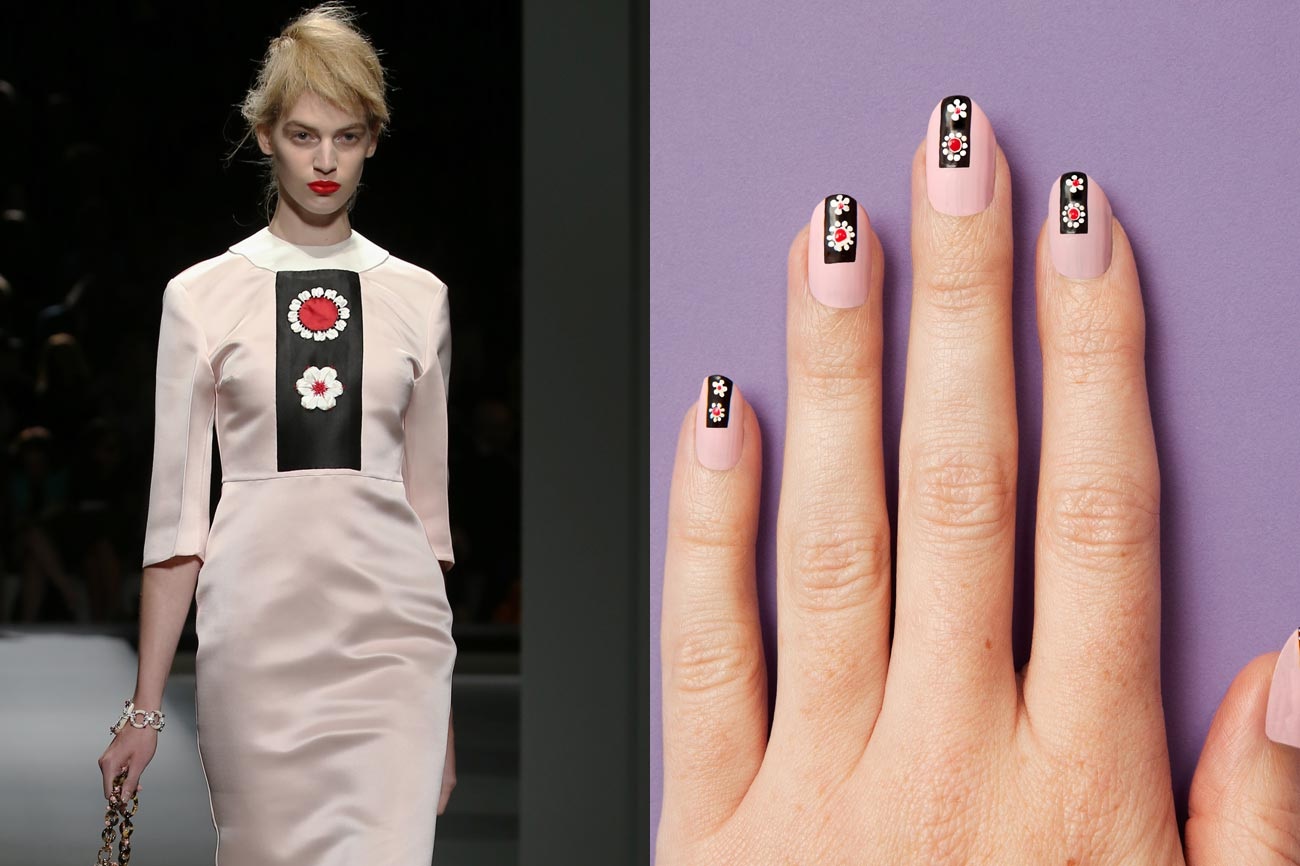
It is a super pretty rose color and is perfect for Teen Vogue’s Prada nails tutorial:

image

http://www.teenvogue.com

I am kind of in love with the shade and it is worth getting from Amazon at $7.50 for 0.5 oz.

If you would prefer a shade that is currently in production, shoot for Essie’s Lilacism, which is not a great match, but it is close. That goes for $8.00 a pop at Ulta.

Next up, OPI’s Suzi Take the Wheel, another limited edition polish, which looks like this:

image

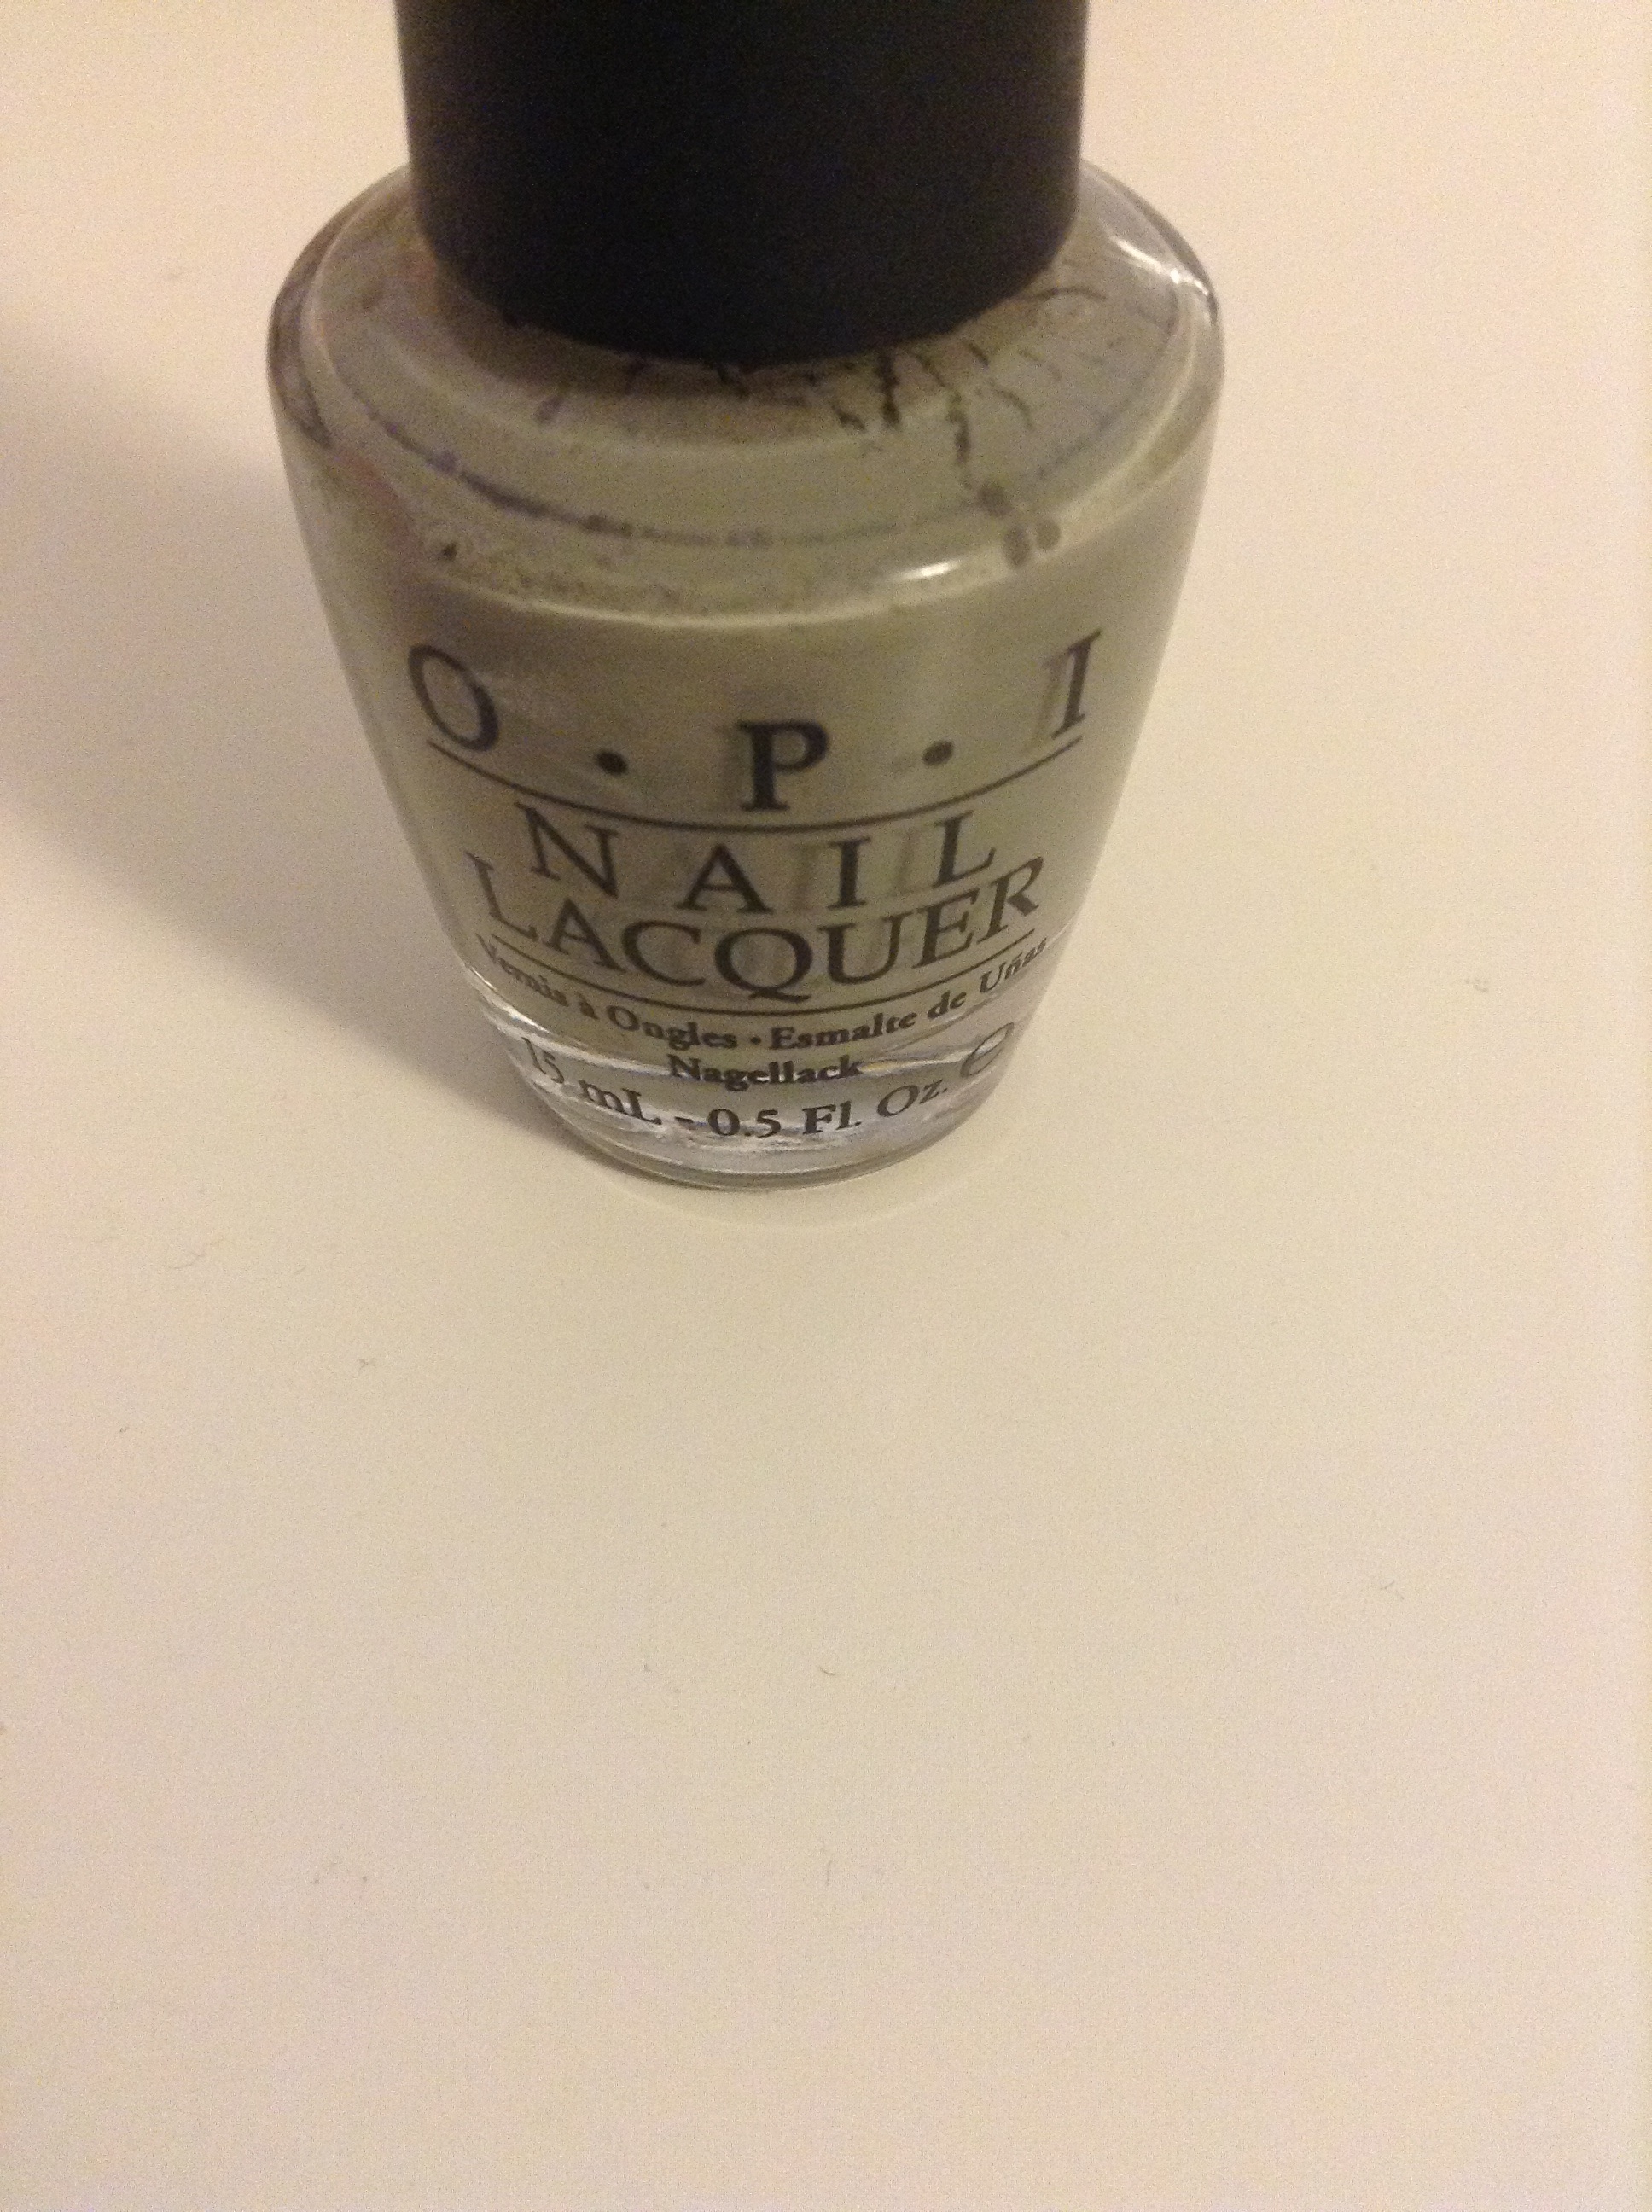
I am aware that the picture does it no justice, but it is a gorgeous gray-green color that is still available at Amazon for $7.27. For a similar shade, check out School of Hard Rocks, which is obviously not the same, but will be available for a while. That goes for $8.00 at Ulta as well.

My third pick is OPI’s Suzi Skis in the Pyrenees, an amazingly complex color that is no longer available in store.

image

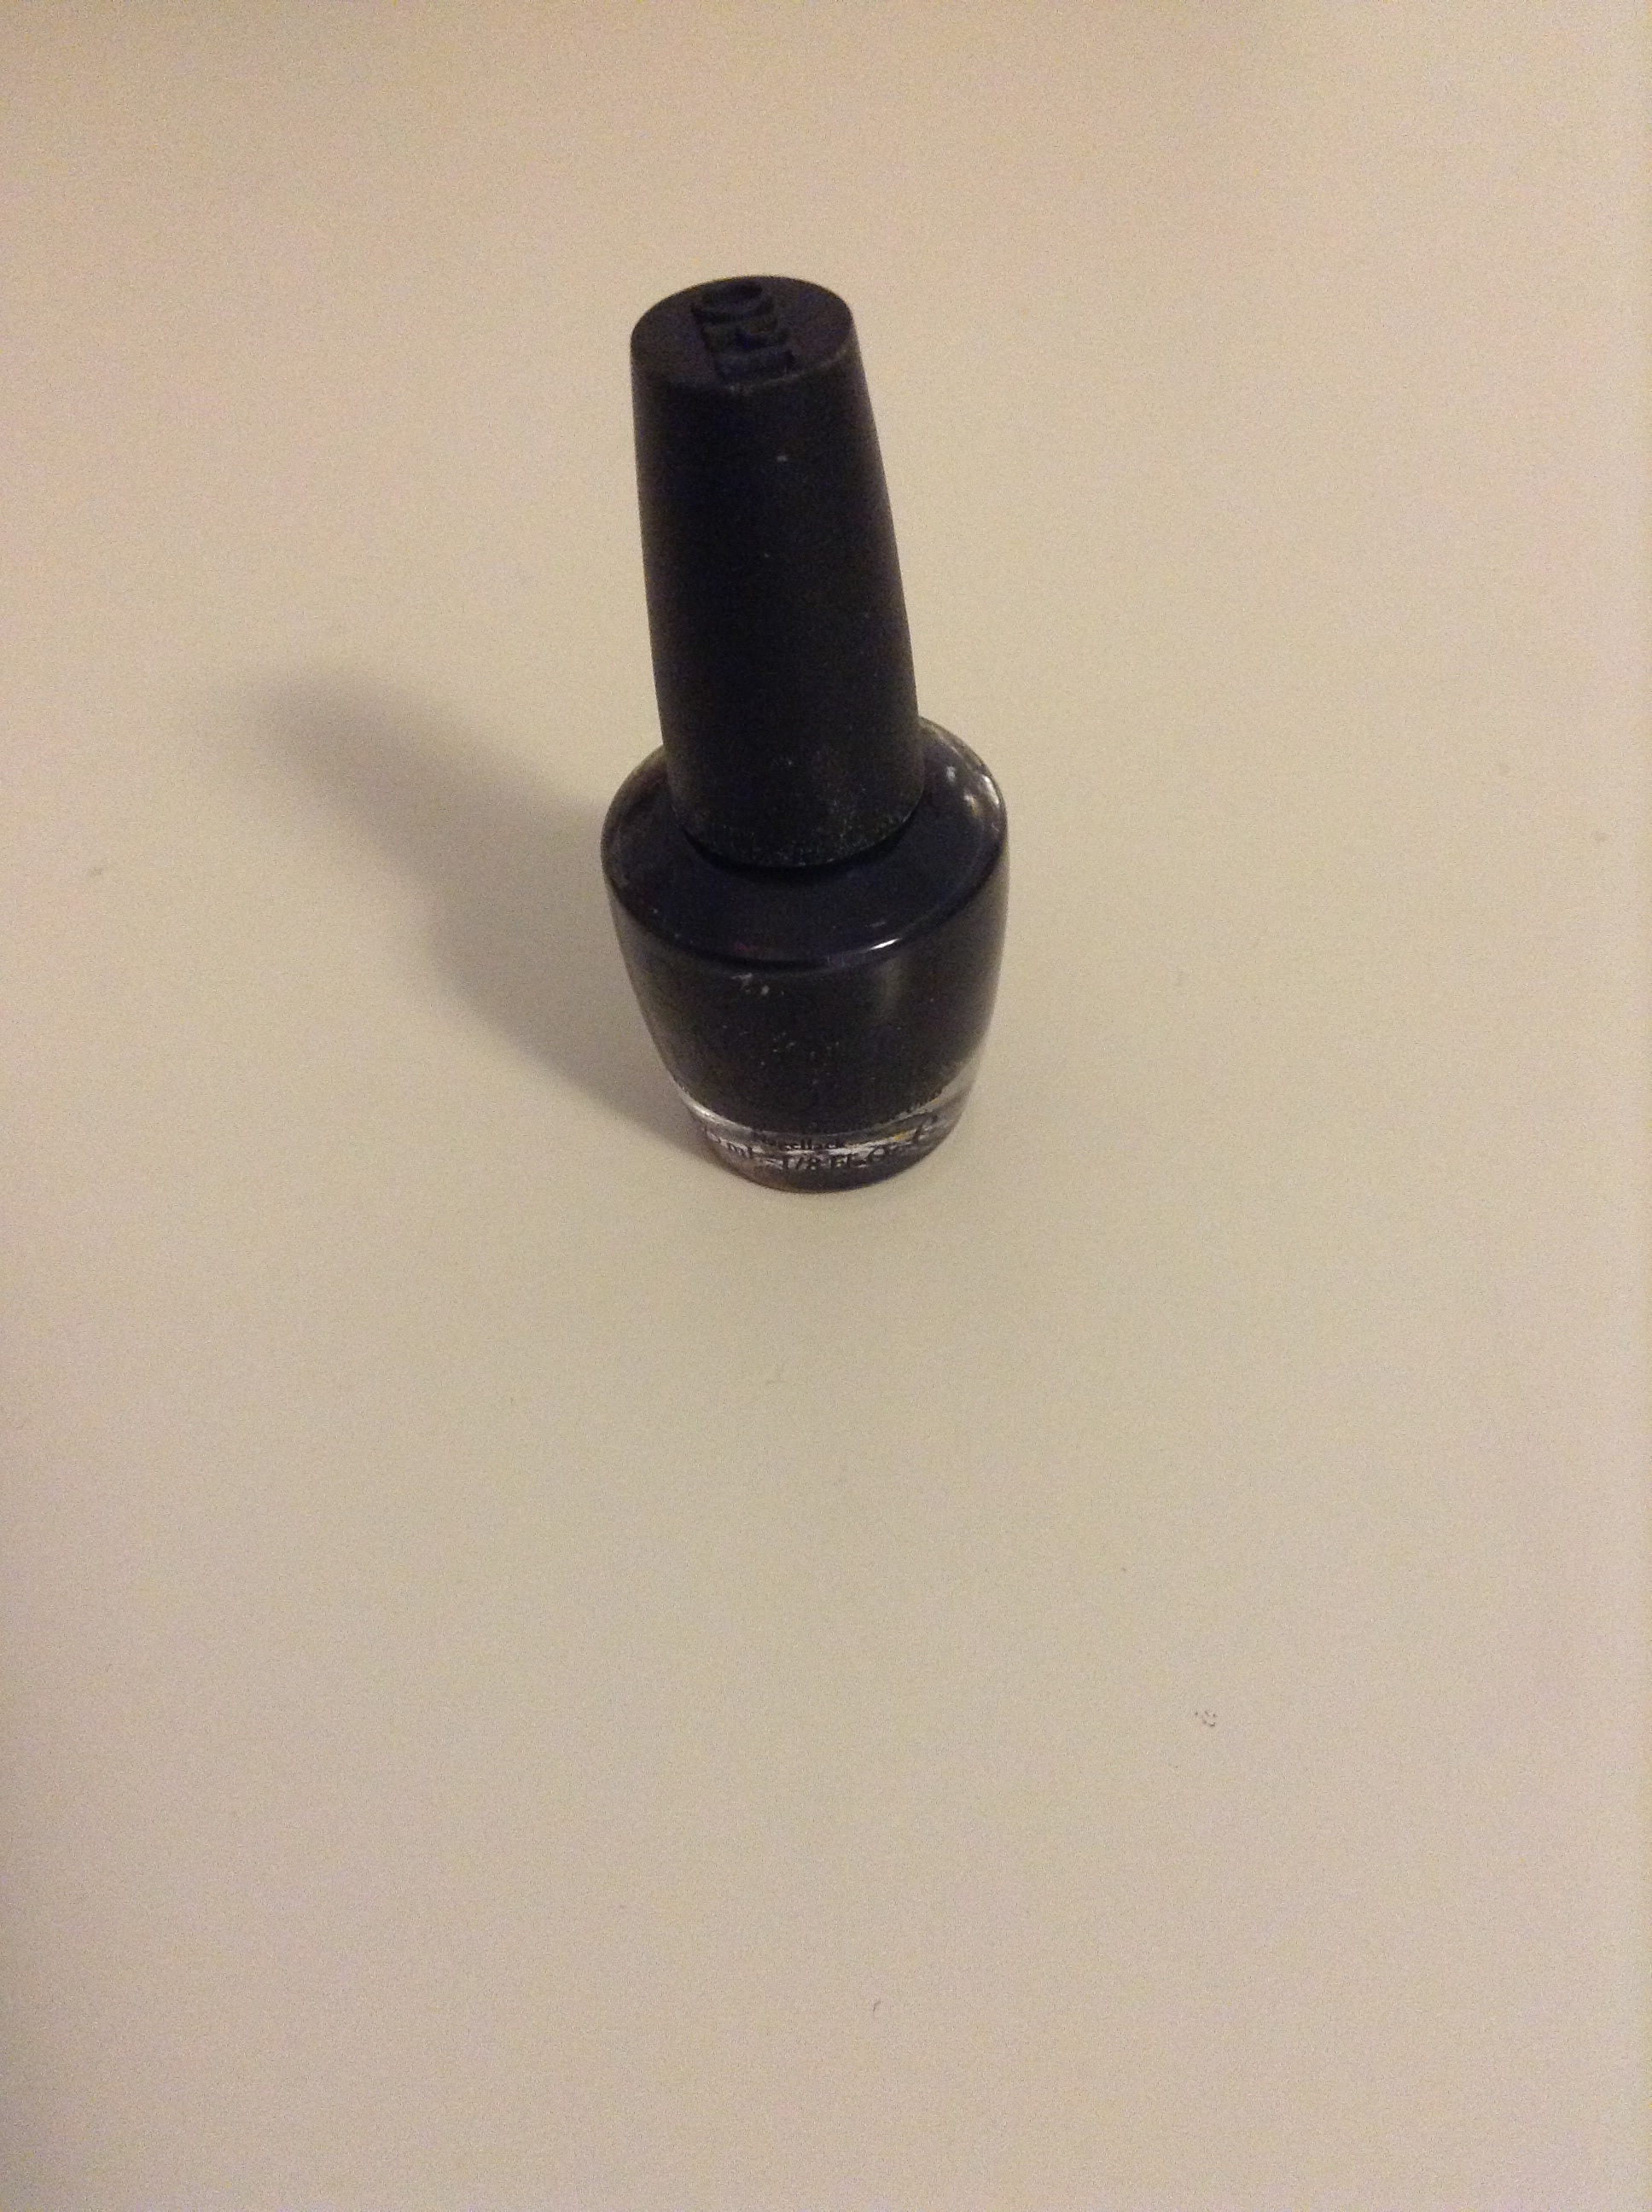
It is super hard to see in the picture, but check out Amazon (where it goes for $5.90) for a better picture. It is difficult to tell, but it is a slightly shimmery, deep purpley charcoal color that reviewers have described as looking like ink. Trust me, it’s gorgeous. For another option, give Essie’s $8 Velvet Voyeur a try (also from Ulta).

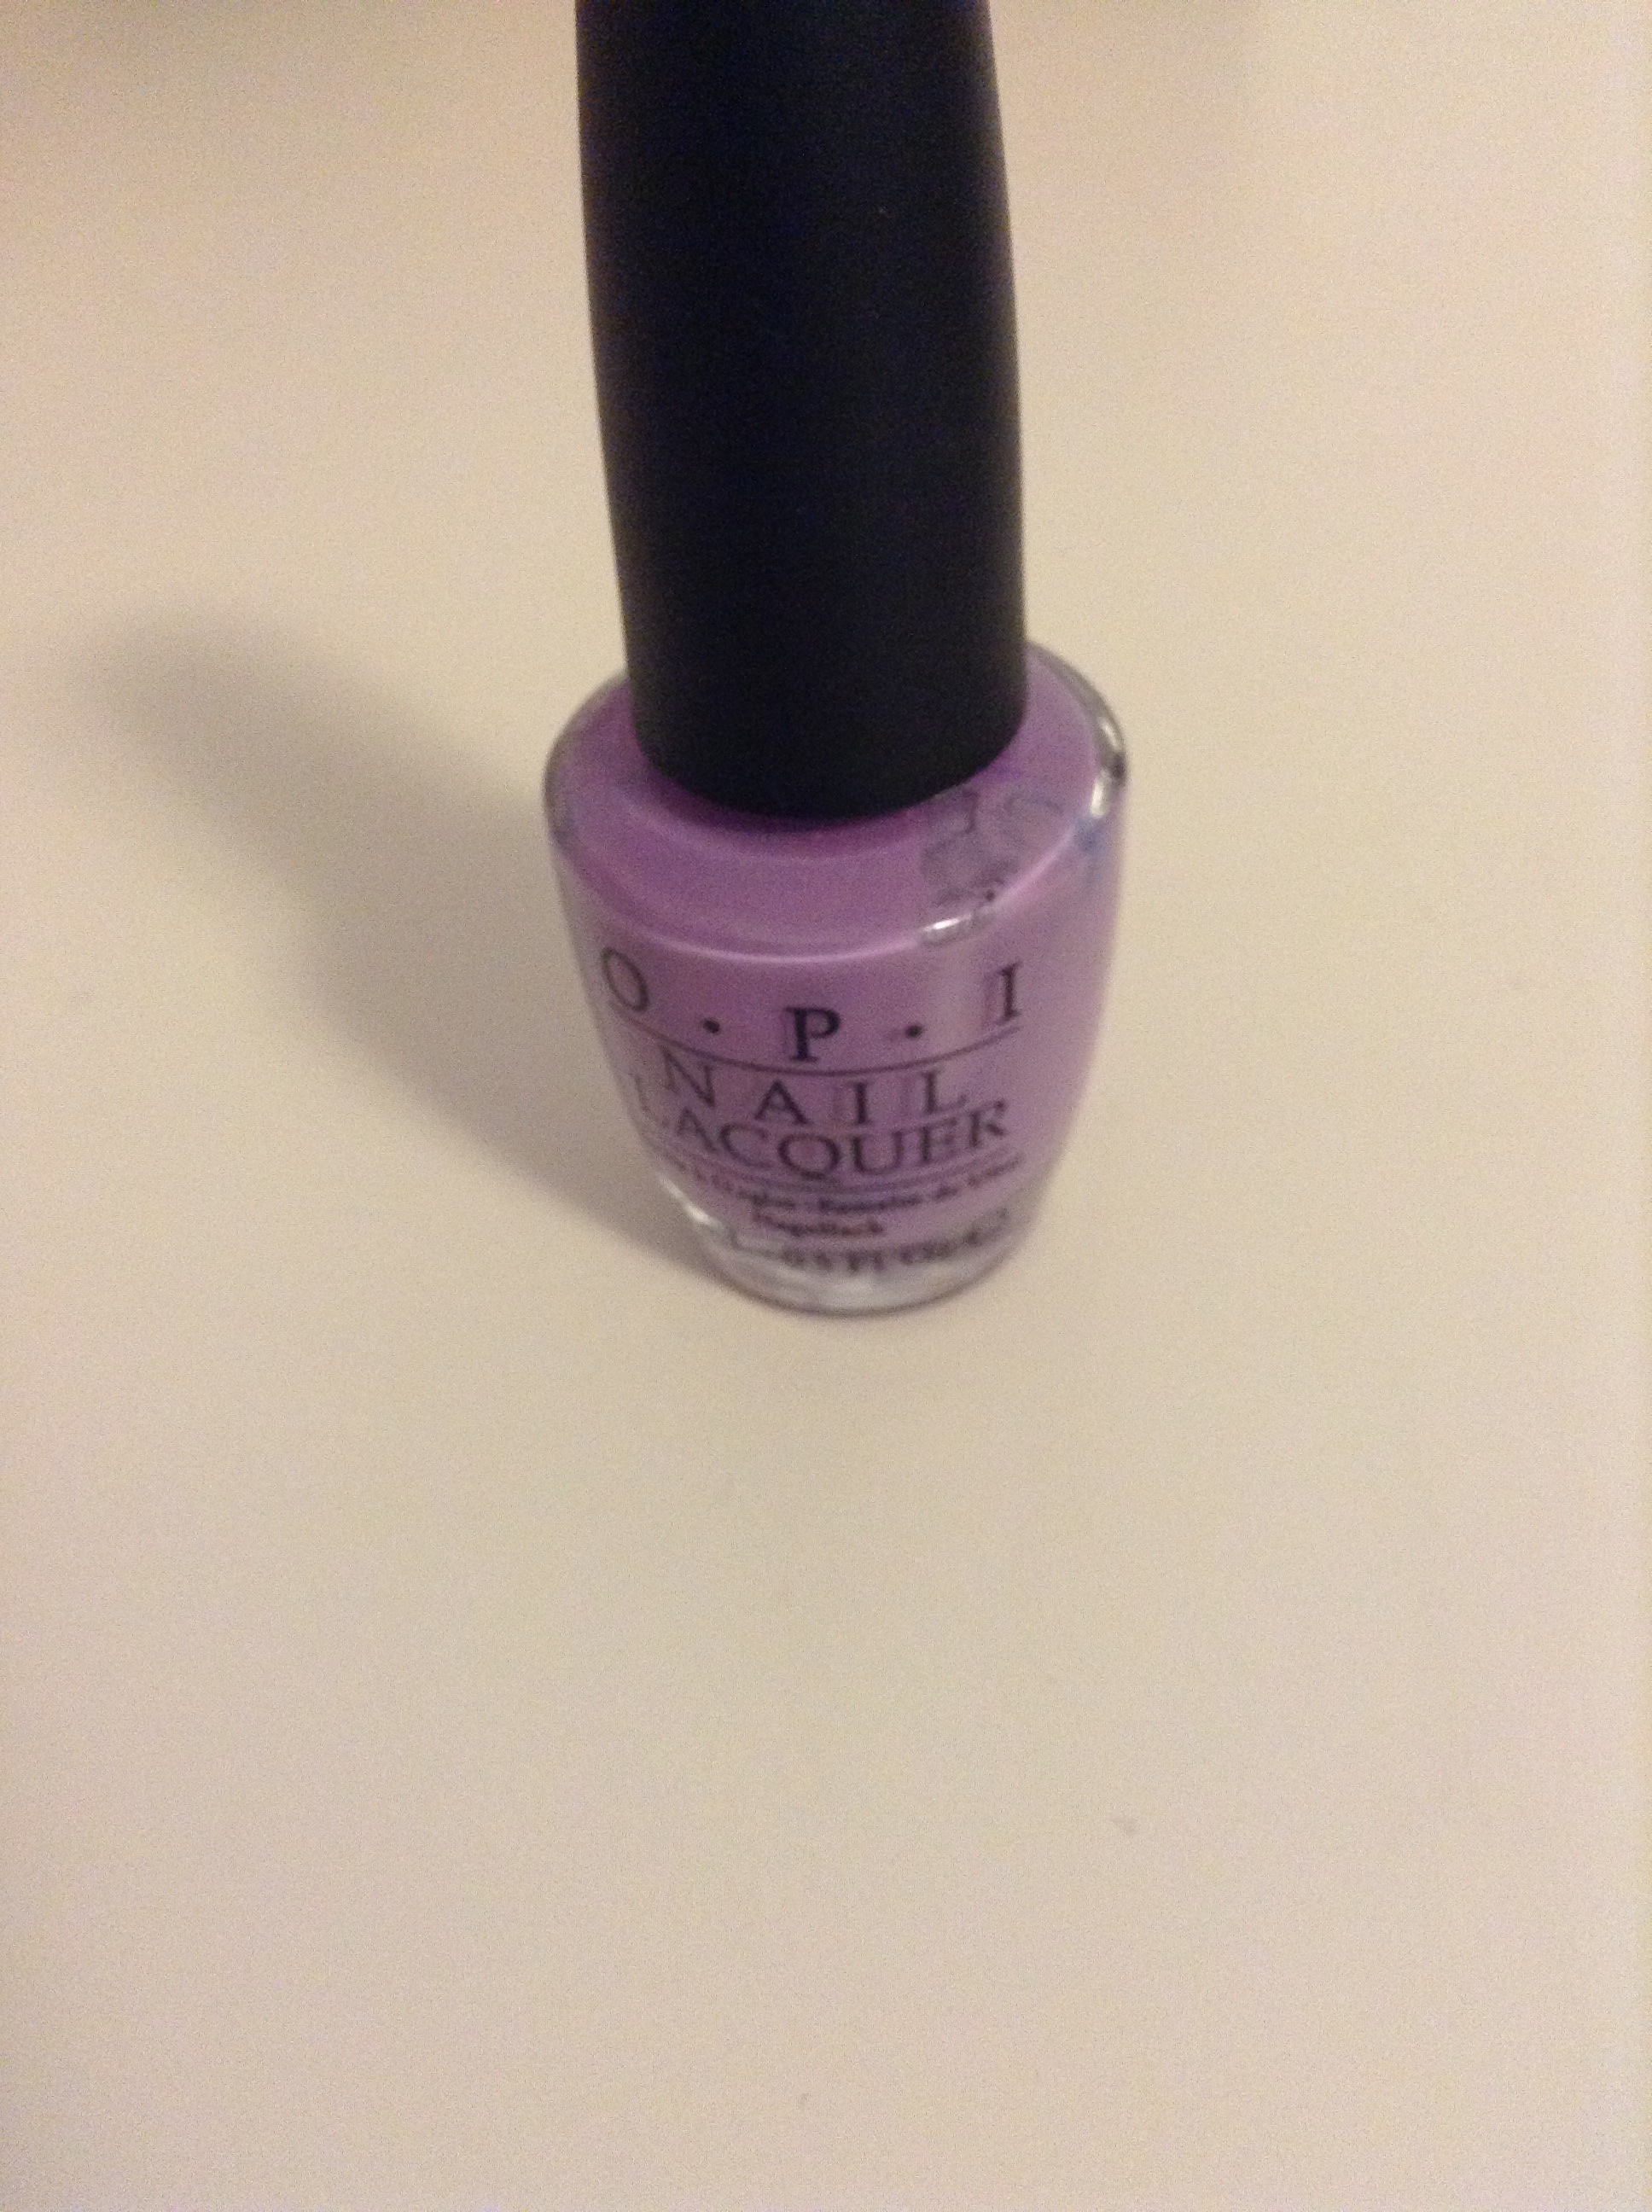
And finally, here is a color you can still buy most places: OPI’s Do You Lilac It, a vibrant pastel purple that goes for $9.00 at Ulta. In the bottle, it looks like this:

image

So give these colors a go! I hope you like them as much as I did!

Tagged , , ,

Beauty

Hey guys, I wanted to share some of my favorite, easy hair ideas. Read on to try them yourself!

Variated Dutch Braid
I’ve gotten SO many compliments on this style and the only tools you need are a hairbrush/comb and 6 bobby pins. All you have to do is brush your hair into two equal segments. Then braid each one in turn, holding onto the end as you fold the braid up onto the back of your head and pin into place. Fasten tightly against the scalp with a second bobby pin per braid towards the bottom, and add a bobby pin behind each ear to tuck excess hair into place. Voila! That was easy, right? And if that’s too blah for you, add a jeweled headband, bandana, or braid or twist your bangs, as well.

Topknot
Before trying this one out, invest in a bun doughnut in at a store like Claire’s. Try to find one that is as close to your hair color as possible, and match the size to the length and thickness of your hair. So besides this, you will need a hairbrush or comb, hairspray, about 8-10 bobby pins, and two plain hair ties. Once you have all the materials, brush your hair backwards so that the part isn’t visible. Then, turn your head upside down, and use either the brush or your hands to gather your hair into a neat high ponytail (on top of your head but not too far forwards) and smooth out any ridges. Turn your head right side up again and once again, smooth out any ridges. Use a hair tie to fasten. Now, slide the bun doughnut over the end of the ponytail and pull down to the base, leaving the hair to hang out of it. Here comes the tricky part: splay your hair over the doughnut evenly so that the entire doughnut is covered. This can take a while depending on how thick your hair is. Once in place, stretch a hair tie over the whole thing, twist the ends around the base, and pin them in place. Now pin any stray lumps or flyaways as well as bangs down, and spritz the entire thing with a light mist of hairspray. Beautiful, right?

Braided Bun
A little more complicated but nothing DIFFICULT. All you need is a hairbrush, 6 bobbies and a hair tie plus additional accessories if desired. So, first, brush out hair along the part. Simple enough. Then, create a small braid on the side with more hair while holding the end up in the air. Release onto opposite side and pin. Now form a large twist along the left side of the head and pin. Brush back the crown of the head a little bit, just so it doesn’t look messy. Once that’s done, just French braid the right side and pull into your basic folded bun (close to the nape of the neck, the kind you make when you’re lazy). And finally, attach your accessories, like sparkly barrettes or pearl twisters.

Hope these inspire you some!

Tagged ,